ADDS in Azure VM – AD in AzurE

.. Welcome @ Azure University ..
Today I will talk about ADDS and how we can create a Domain in Azure VM . Before move to practical let me talk about ADDS and related things for better understanding .
ADDS – Active Directory is Directory service provided by Microsoft . We use ADDS to manage our domain infra and to manage our user . In short we use ADDS to provide 3A – Authentication + Authorization + Accounting . Where Authentication means “Who you are ?” , “Authorization means “What you can do?” and Accounting refer to a counting of user – device etc. We create domain to make a logical security boundary to maintain the infra and replication also . The computer where we install ADDS that computer refer as a Domain controller . In a easy term when we play football we make team and there is a team leader who manage the team . In if I compare here Team is the Domain and Team Leader is Domain Controller . DNS is a another important part of ADDS . Because without a DNS server we will not be able to install ADDS . So , what is DNS ? DNS is a service running on a server that convert Domain Name to IP and IP to Domain Name .
What we need to install ADDS :
- Static IP – Provide From Portal
- Administrative privilege
- DNS
Now, let’s start with the practical .I have created a VM in my Azure Subscription name DC .
Now the question is how we can provide a static IP address to a Azure VM ?
Go to VM properties :
Click on the Public IP , you will get another few option :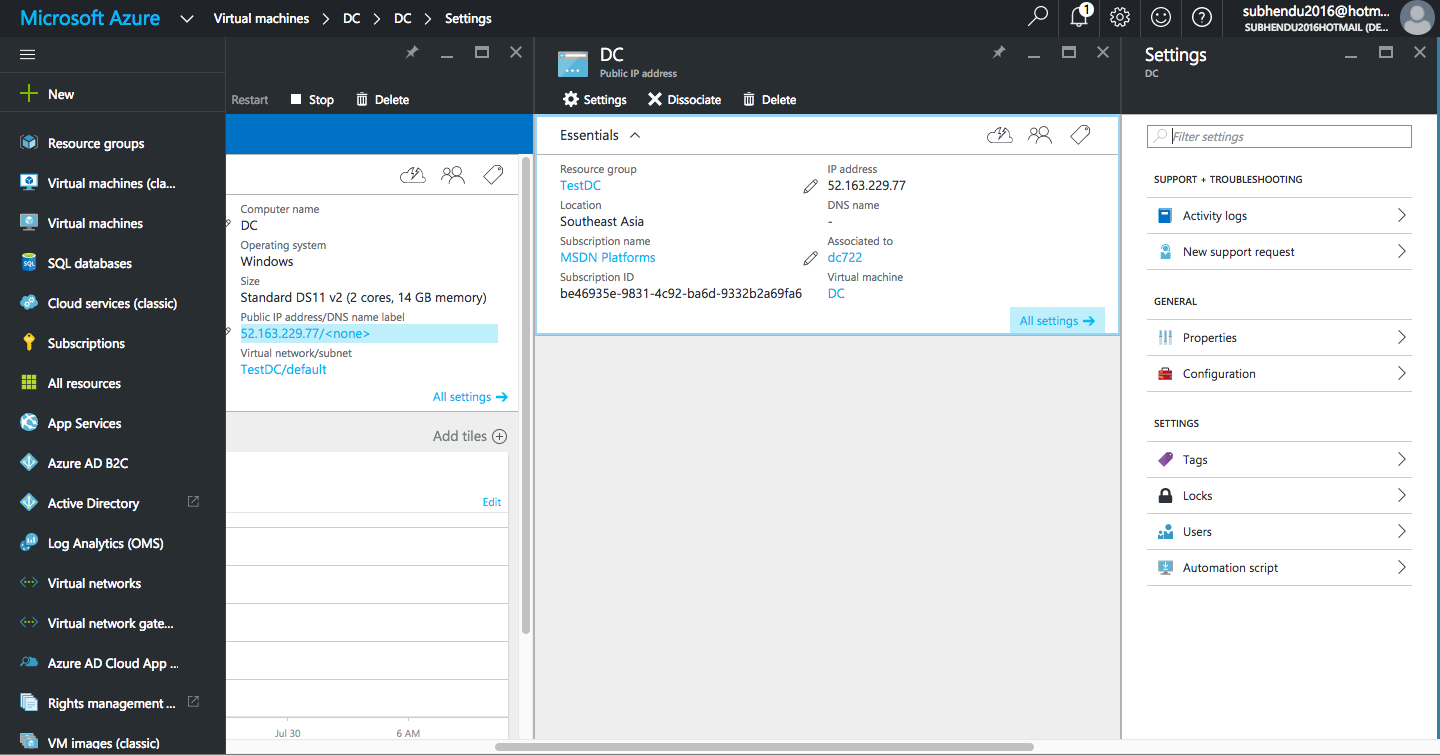
Now click on Configuration :
Click on Static and your vm will get a static IP. Now turned on the VM and connect the VM .


- NOTE : Please do play with VM network Config . If you want to provide static Ip please provide from portal .
Now we have done with our first step to create our domain and domain controller . Let’s install DNS . In order to do that Go to server manager and install DNS role. Here DNS is already installed .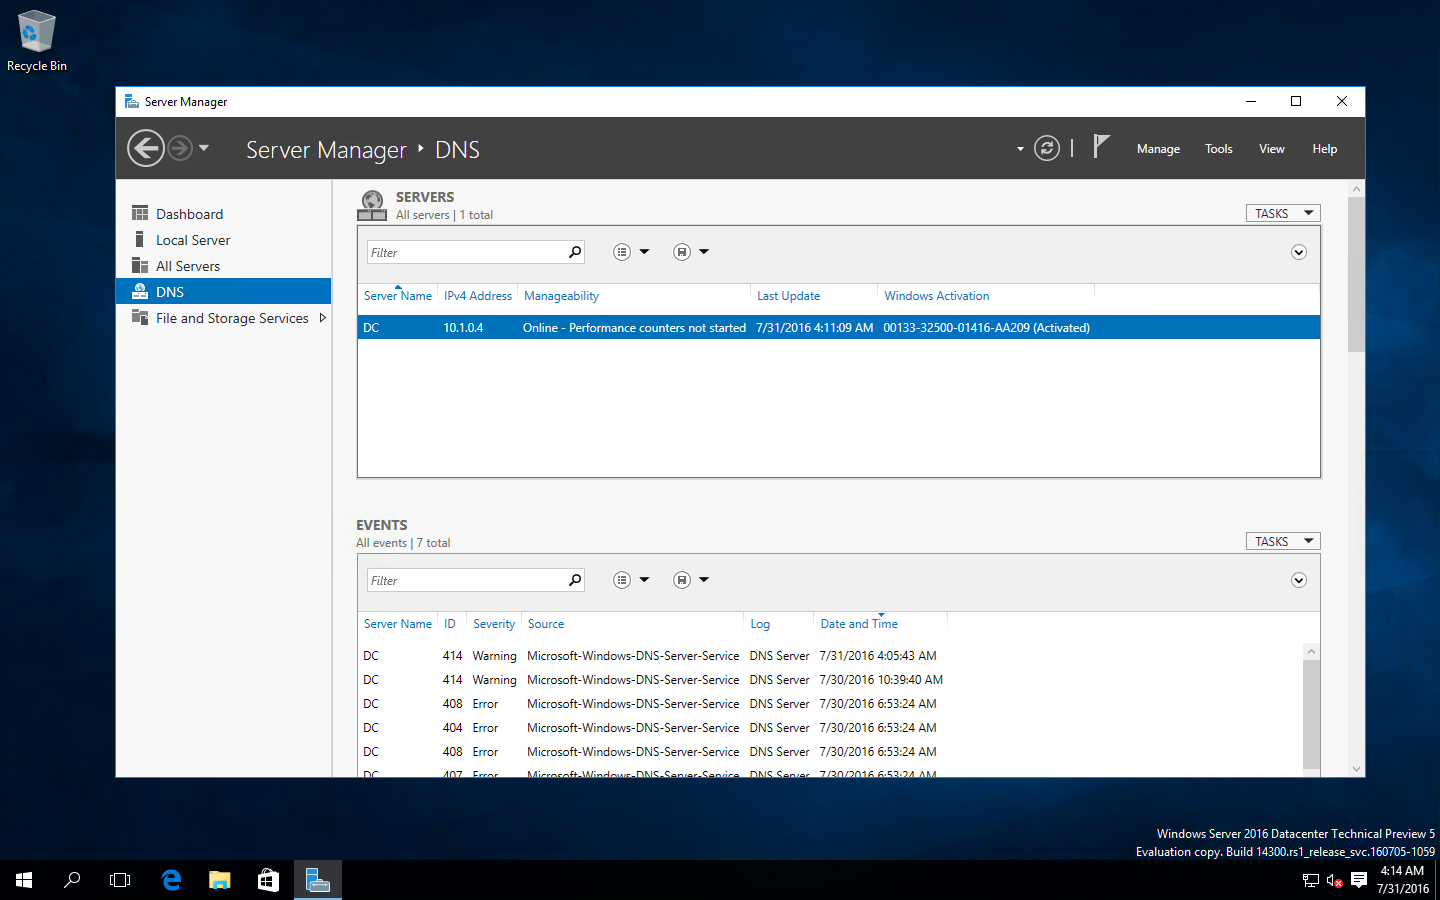
Lets install ADDS : Go to SERVER MANAGER -> And click on Add Role and Features : Add ADDS as a role and click next . Please follow bellow screenshots .


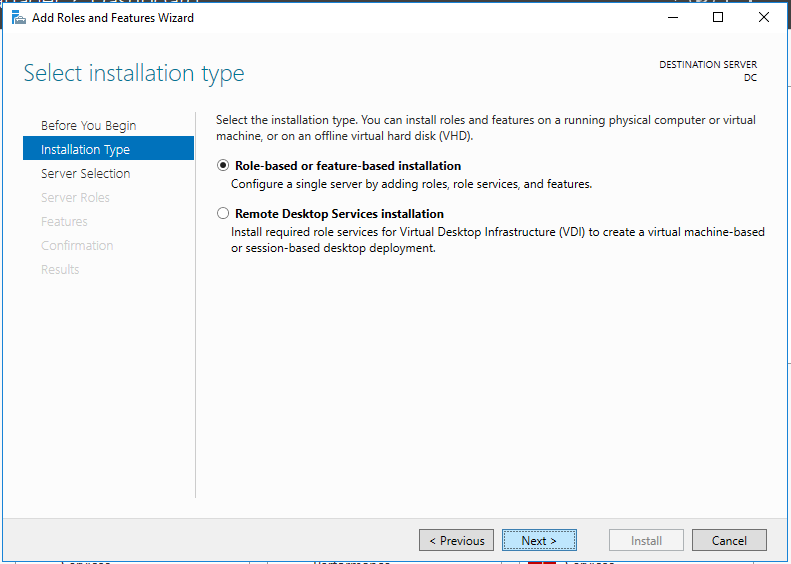
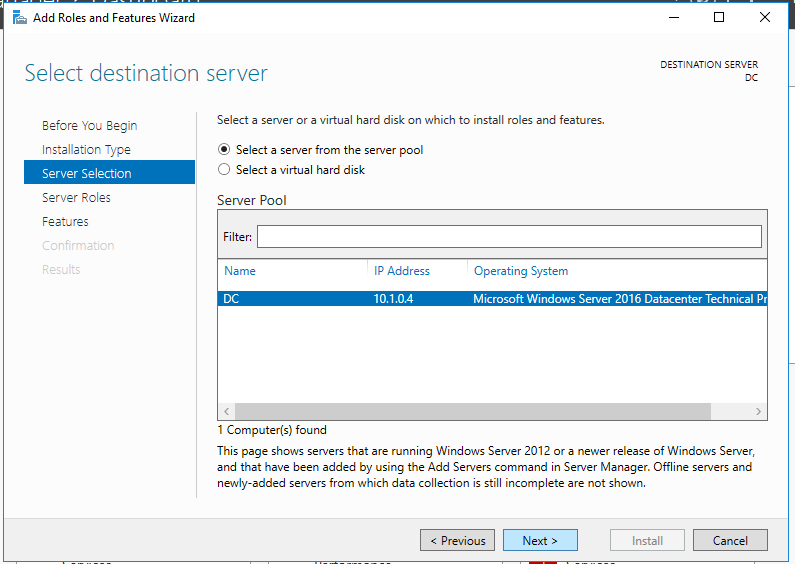

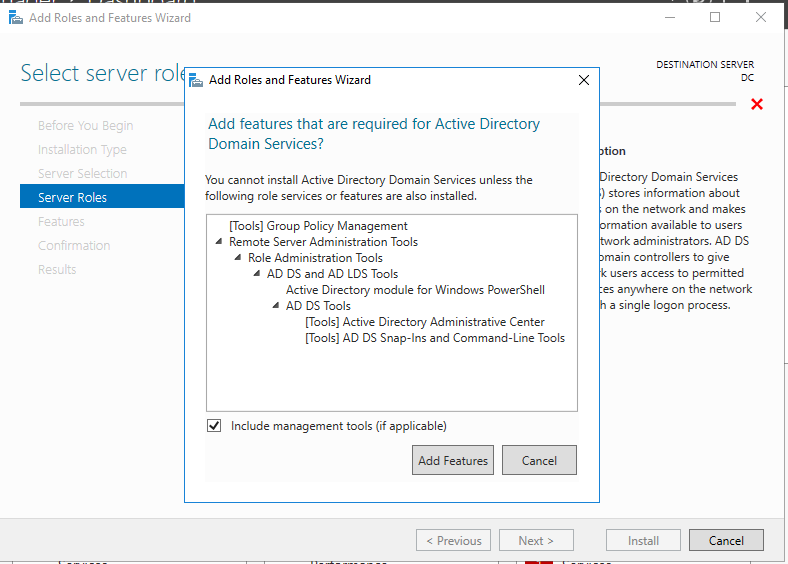
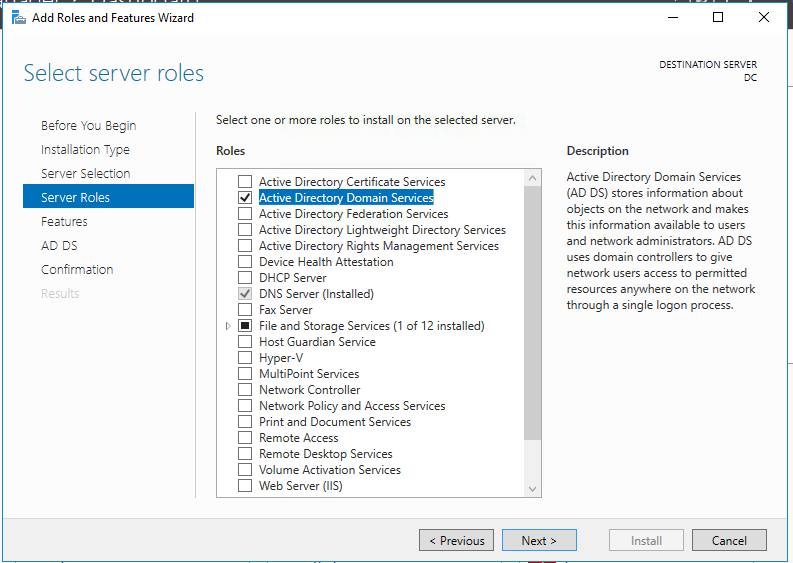
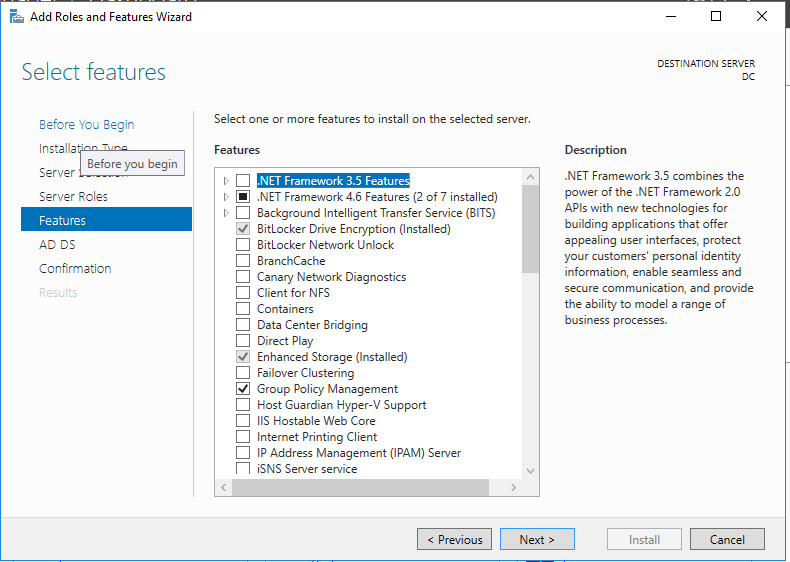
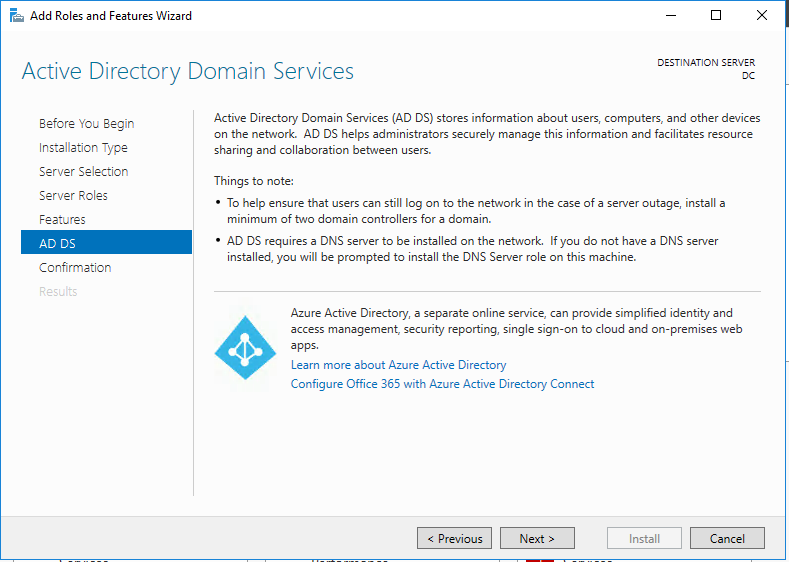

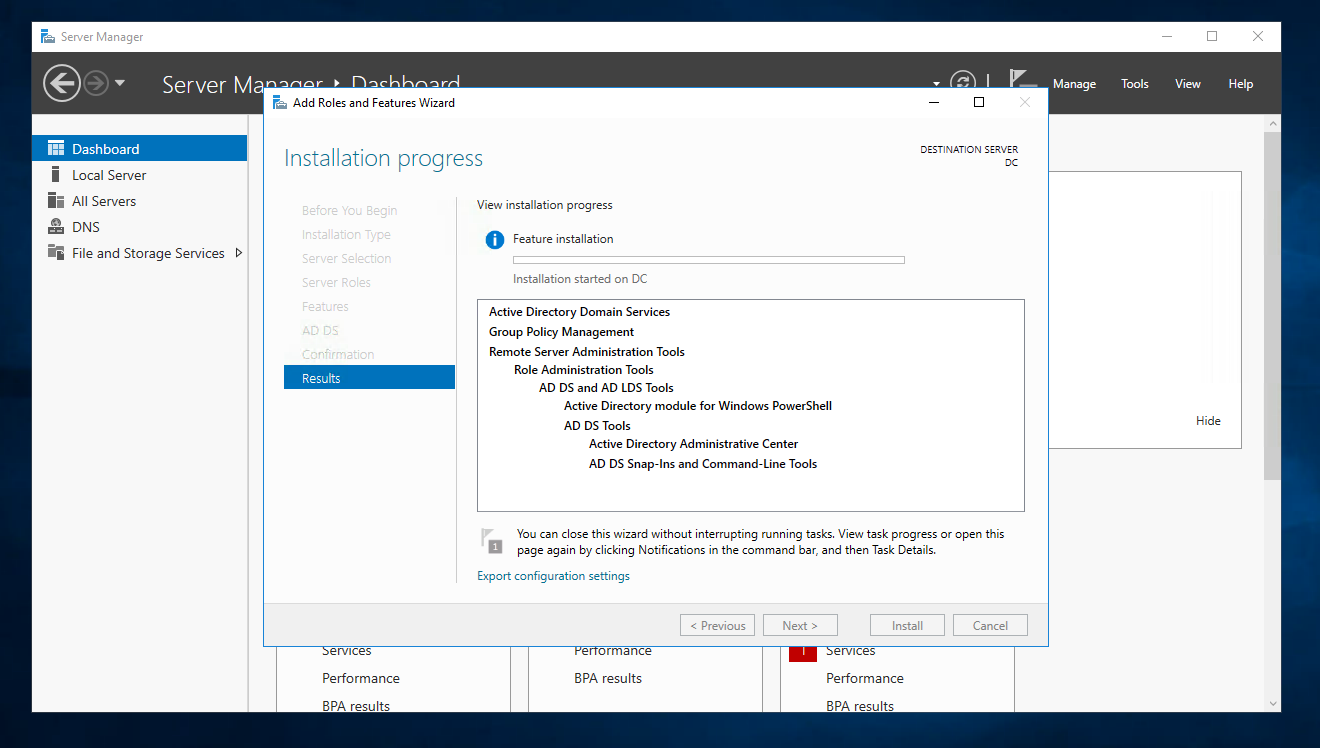
Finally ADDS installation has been started . It will take few minute to complete the installation . When its done please close the wizard .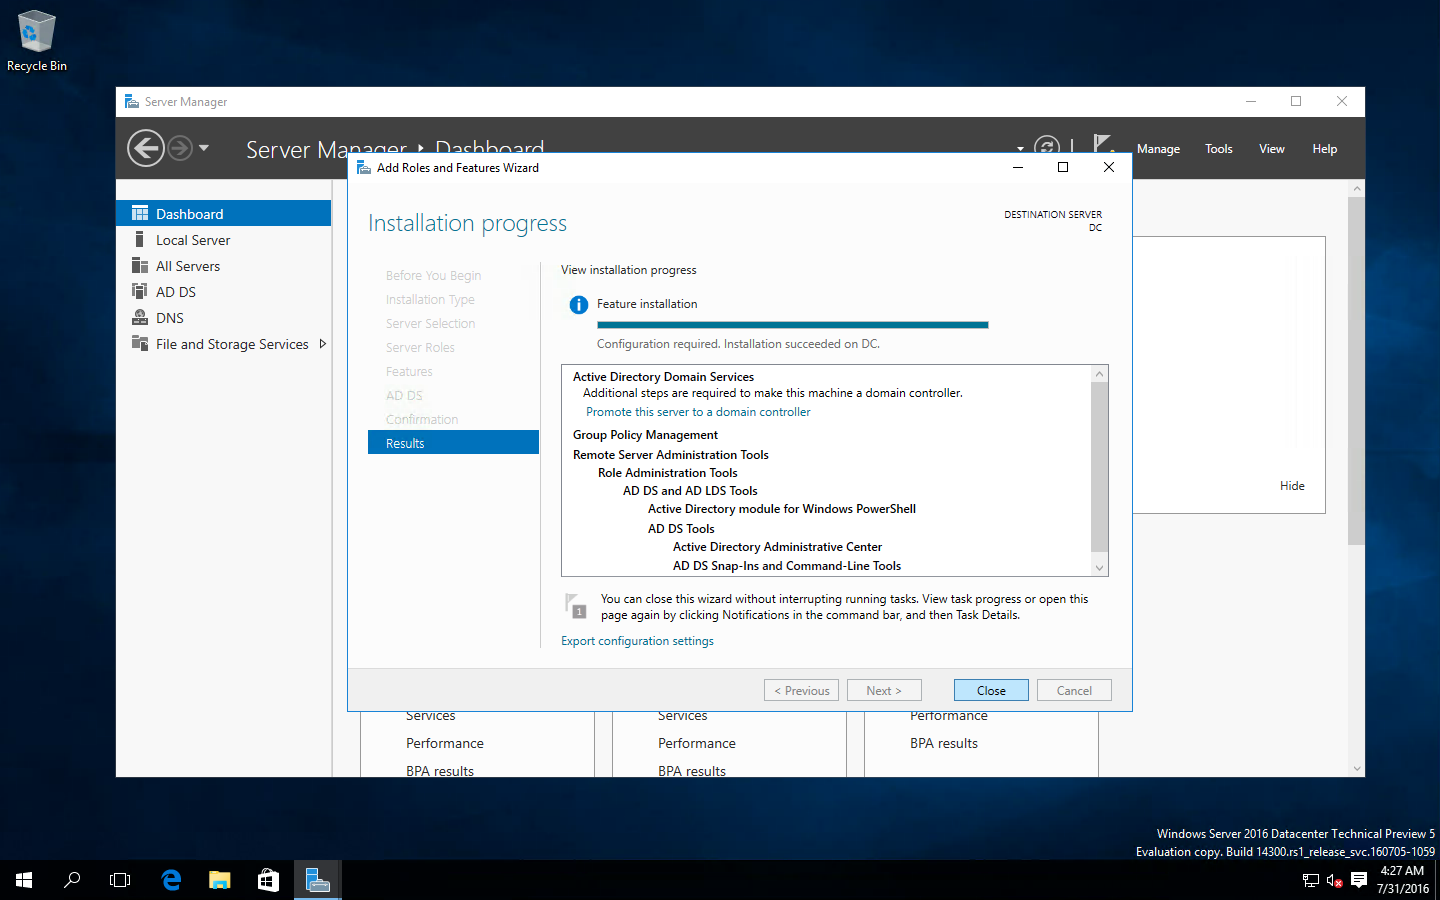
When you will close the wizard we will notice a Flag with a exclamation sign. Click there and promote the server to a domain controller. Creation a domain has two step , one is Installation and 2nd one is Promotion . So , Let’s promote the server to a domain controller.


Here I am creating a New Forest so I am ignoring other stuff , but if you want to know details about Forest , Domain and all option of this page please CLICK HERE .

As I told you here I am creating a new forest so I clicked on Add a new forest . Here forest name is AzureUniversity.com . Click on Next and follow bellow screenshot .
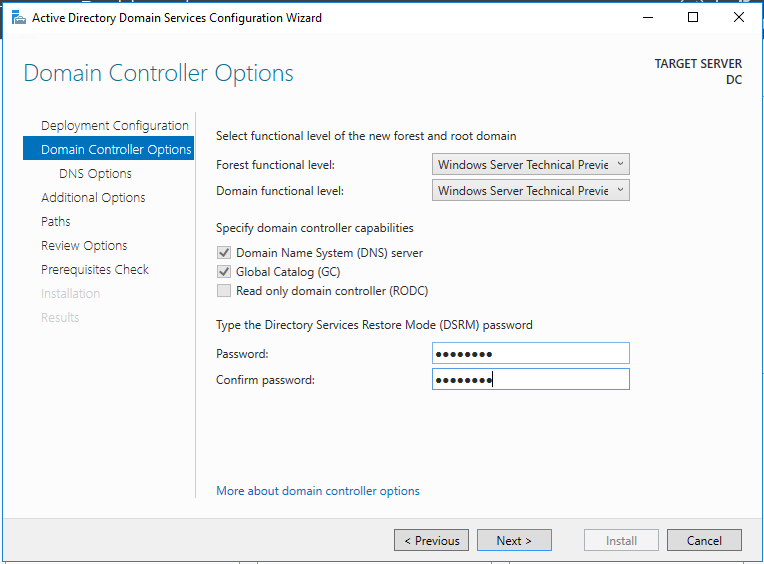


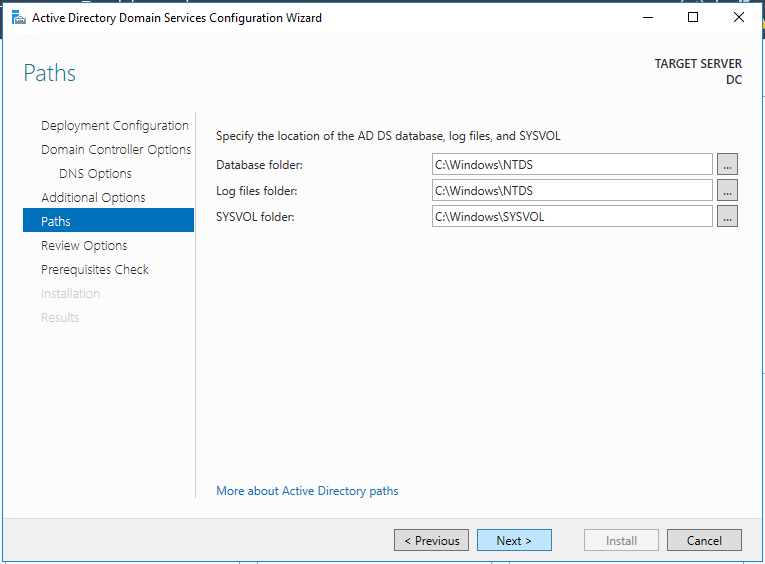

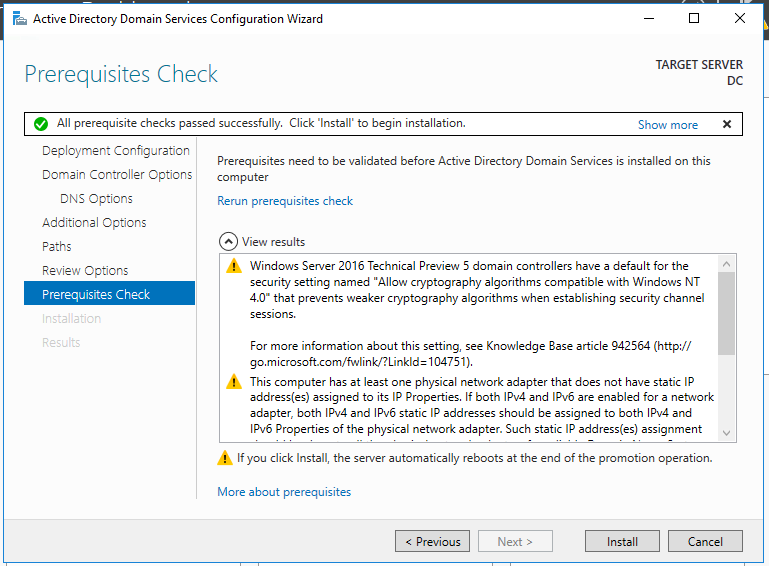
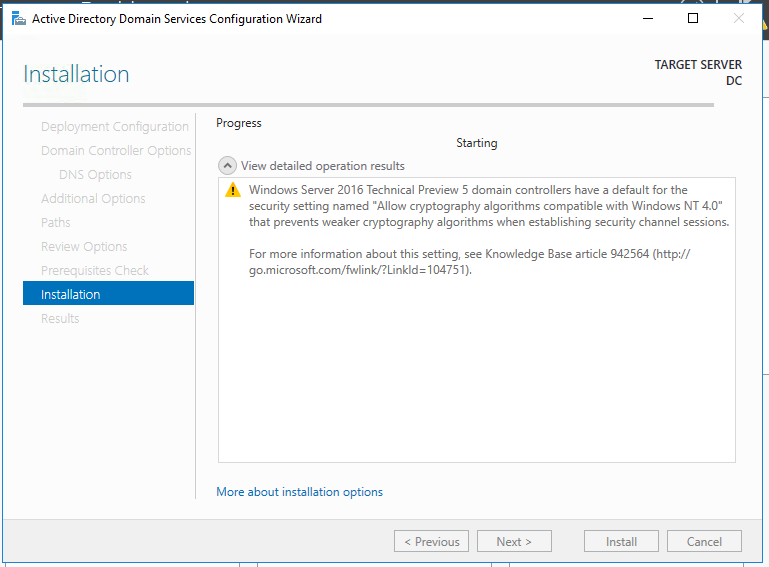
It will take few minute and will restart after the installation . You VM may disconnect from RDP . So you have to take RDP again. Here I am done with installation and promotion of DC.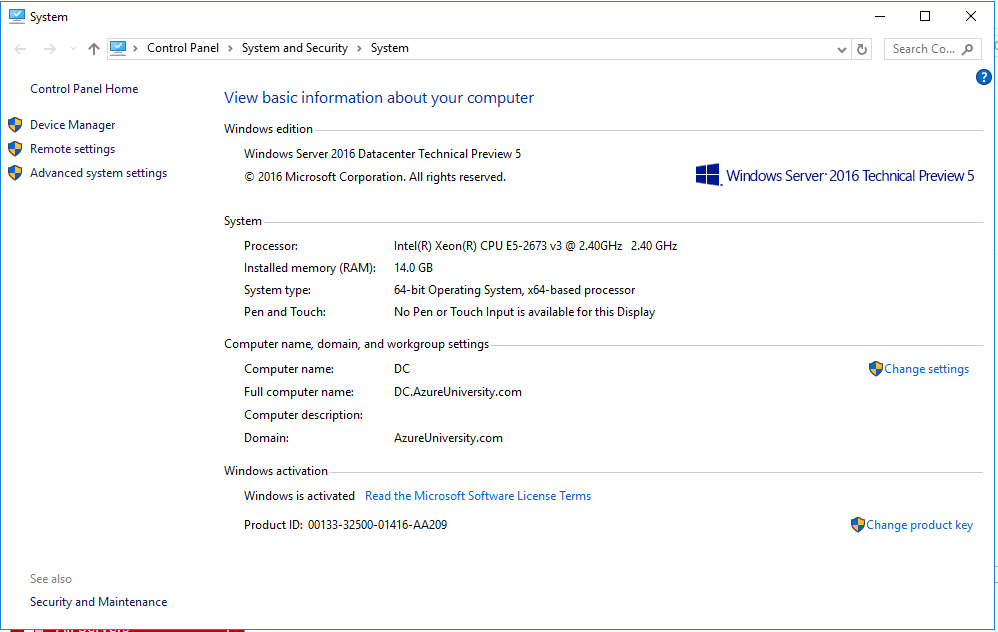
You can see that the computer name is DC.AzureUniversity.com and Domain is AzureUniversity.com.
Thanks for visiting my Blog. See you soon.
One Response
I see your blog needs some fresh articles.
Writing manually takes a lot of time, but there
is tool for this time consuming task, search for: Wrastain’s tools for content