Understanding Azure Part – IV – Creating Windows VM
Hi friend’s today I will show you how you can create virtual machine in Azure platfrom . Creating VM and using it is a part of IaaS ( Infrastructure as a Service). I am using my MSDN subscription , you can create your free trial subscription and use it.
There are two portal by which you can use Azure .
https://manage.windowsazure.com – This is OLD portal (Code Name is Classic)
https://portal.azure.com – This is the New portal (Code Name is Ibiza)
Here I am using new portal to create VM . Let’s get started :
First Log in to azure portal :
There are two portal by which you can use Azure .
https://manage.windowsazure.com – This is OLD portal (Code Name is Classic)
https://portal.azure.com – This is the New portal (Code Name is Ibiza)
Here I am using new portal to create VM . Let’s get started :
First Log in to azure portal :
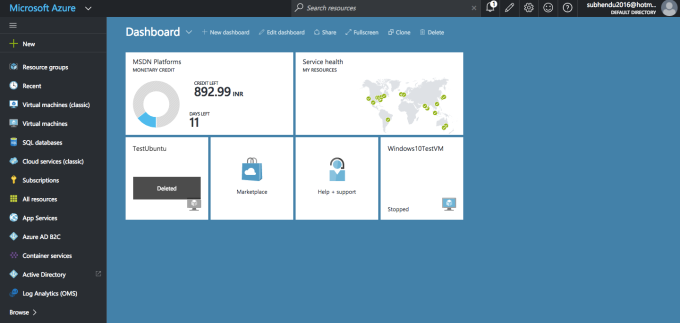
From here we can directly go to “Virtual Machine” and create virtual machine from the console .

Apart from this option we can click to ” + New ” and create virtual machine . Today I will show you that option .
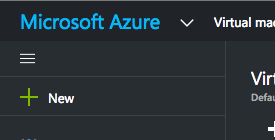
Click on ” +New ” and you will get this option :
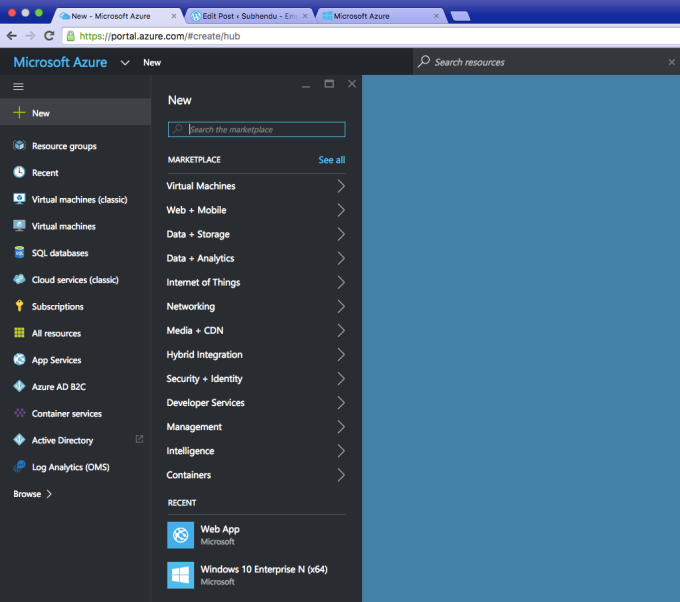
From here click ” Virtual Machine ” and you will get option to select the template : 
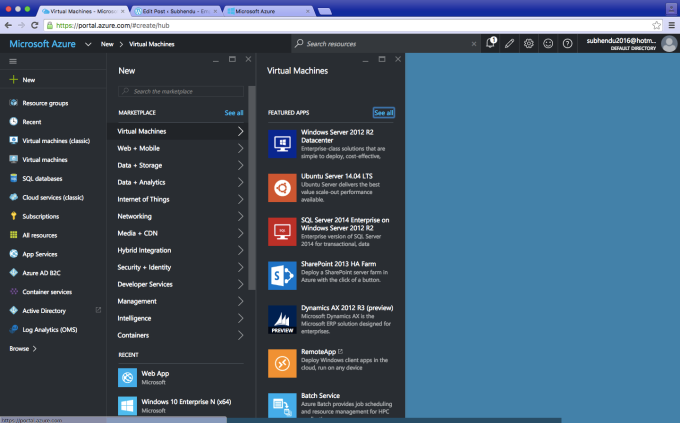
Here you have to select template . Here I want to create windows server virtual machine , that’s why I have selected ” Windows Server 2012 R2 Datacenter ” template …
After that you will get get this option from where you can create your VM.
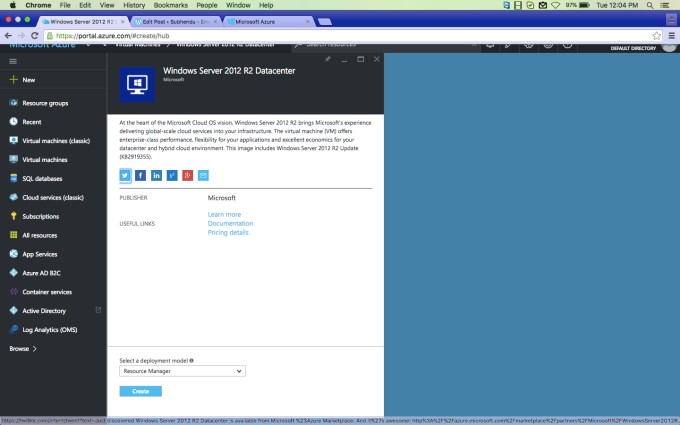
Now just click on ” Create ” and proceed .. .
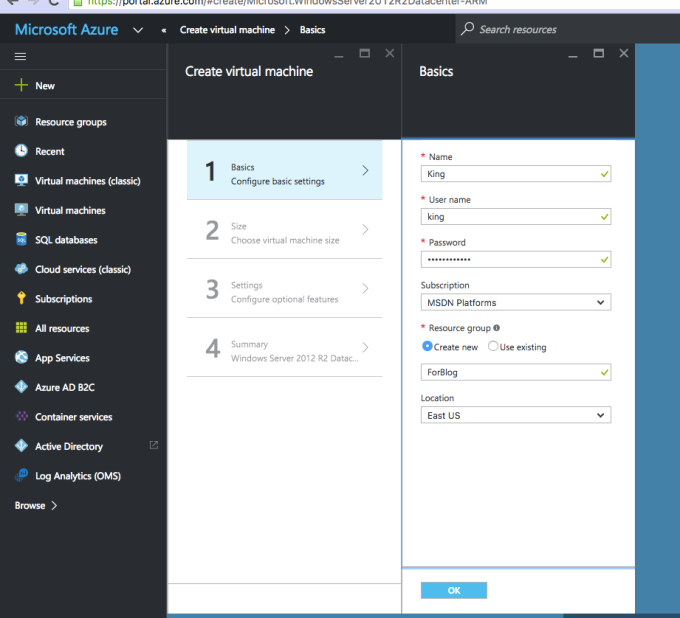
Now you will get option to enter VM details in 4 part . First part is Basis :
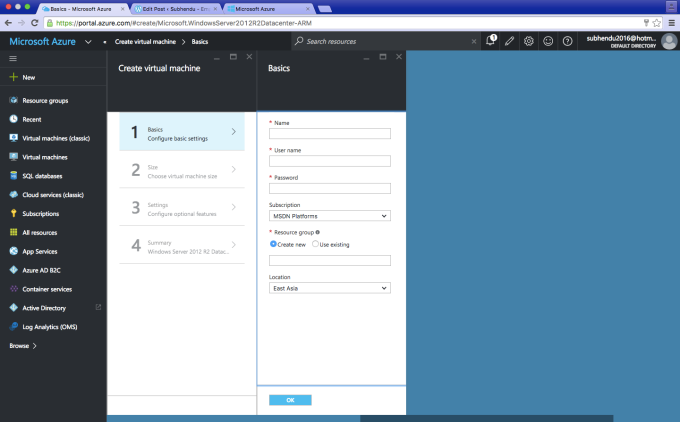
Fill up all the details and click on OK.
After giving this details you will get option to select VM size or VM hardware configuration. Remember , if you choose high configuration – you have to pay high cost.
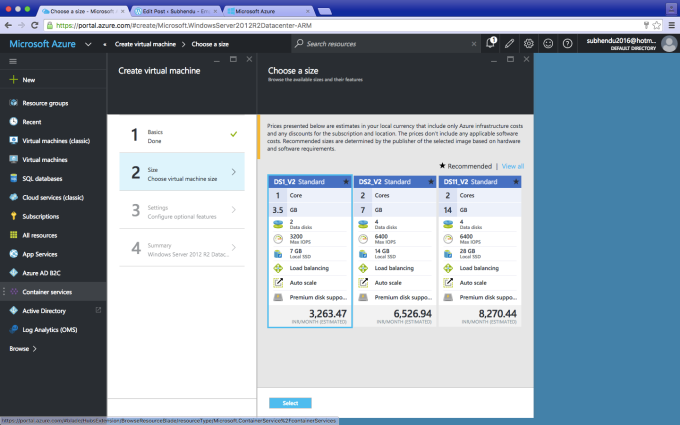
Click on ” Select ” …
Here keep all settings default and click OK ..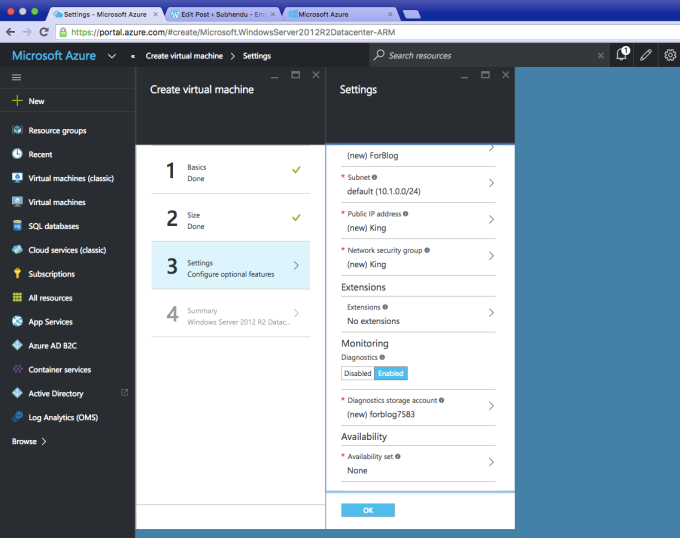
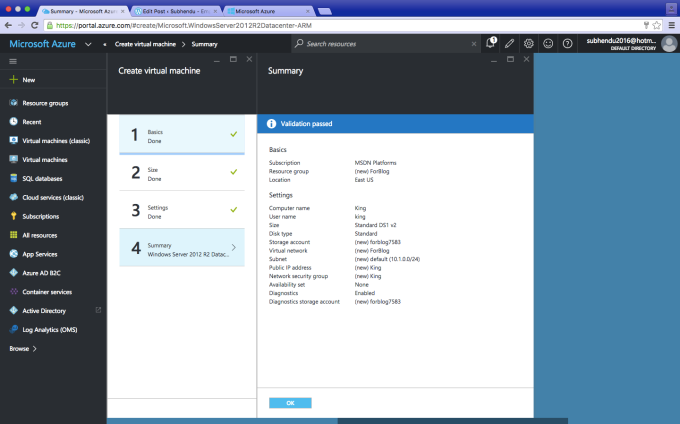
Now you will get final validation Page and you are done. Review the page and complete this task.
Click on “OK”…
And your deployment will Start….

It will take few minutes (5 – 15 min) to complete ….
So you have created a Windows Server VM and that has been deployed. Now move to Virtual machine and click on the VM (Here name is “King”) . There you will get “Connect” button . Click there…And connect to your VM .

Thanks a lot for reading my blog .. If you face any problem please write me @ subhendu2016@hotmail.com .